10 tips and tricks to taking amazing bluebonnet portraits|San Antonio photographer
San Antonio Bluebonnets – Tips on how to take beautiful pictures safely
Last year I had so much fun road tripping and scouting out locations for those perfect bluebonnet photos for our clients.I love seeing all those bluebonnet photos that have popped up on our Instagram and Facebook feed already. Last year I wrote a blog on the mistakes I had made in 2015, which you can find here. This year I hope I can add some more tips for you, especially since last year I made the biggest mistake, a mistake I hope no one else makes this year! Be sure to read all the way to the end where you will find possible locations to shoot bluebonnets safely. Also, keep checking back because I will be updating the blog below as I find new locations to shoot!
1.Watch out for Cactus!
Last year after countless road trips around San Antonio, Boerne, Floresville, and the hill country, I ended up finding an amazing dream come true field full of bluebonnets! Sam and I took our 2 yr old son to shoot some photos. There were two of us there and it took one second for him to take off running and of course, trip and fall into a cactus. I felt like the most horrible mom ever picking little needles out of his hands and legs! To this day he is still scared of cacti and every time he sees one, he reminds me of how he fell. So beware- especially out in the Alamo Ranch area!
2. Try to avoid stopping on the side of the road if possible.
I know it’s tempting to stop on the side of the road, but it can be so dangerous. Especially with so many distracted drivers on the road. There are several spots that are much safer (look at the list below).
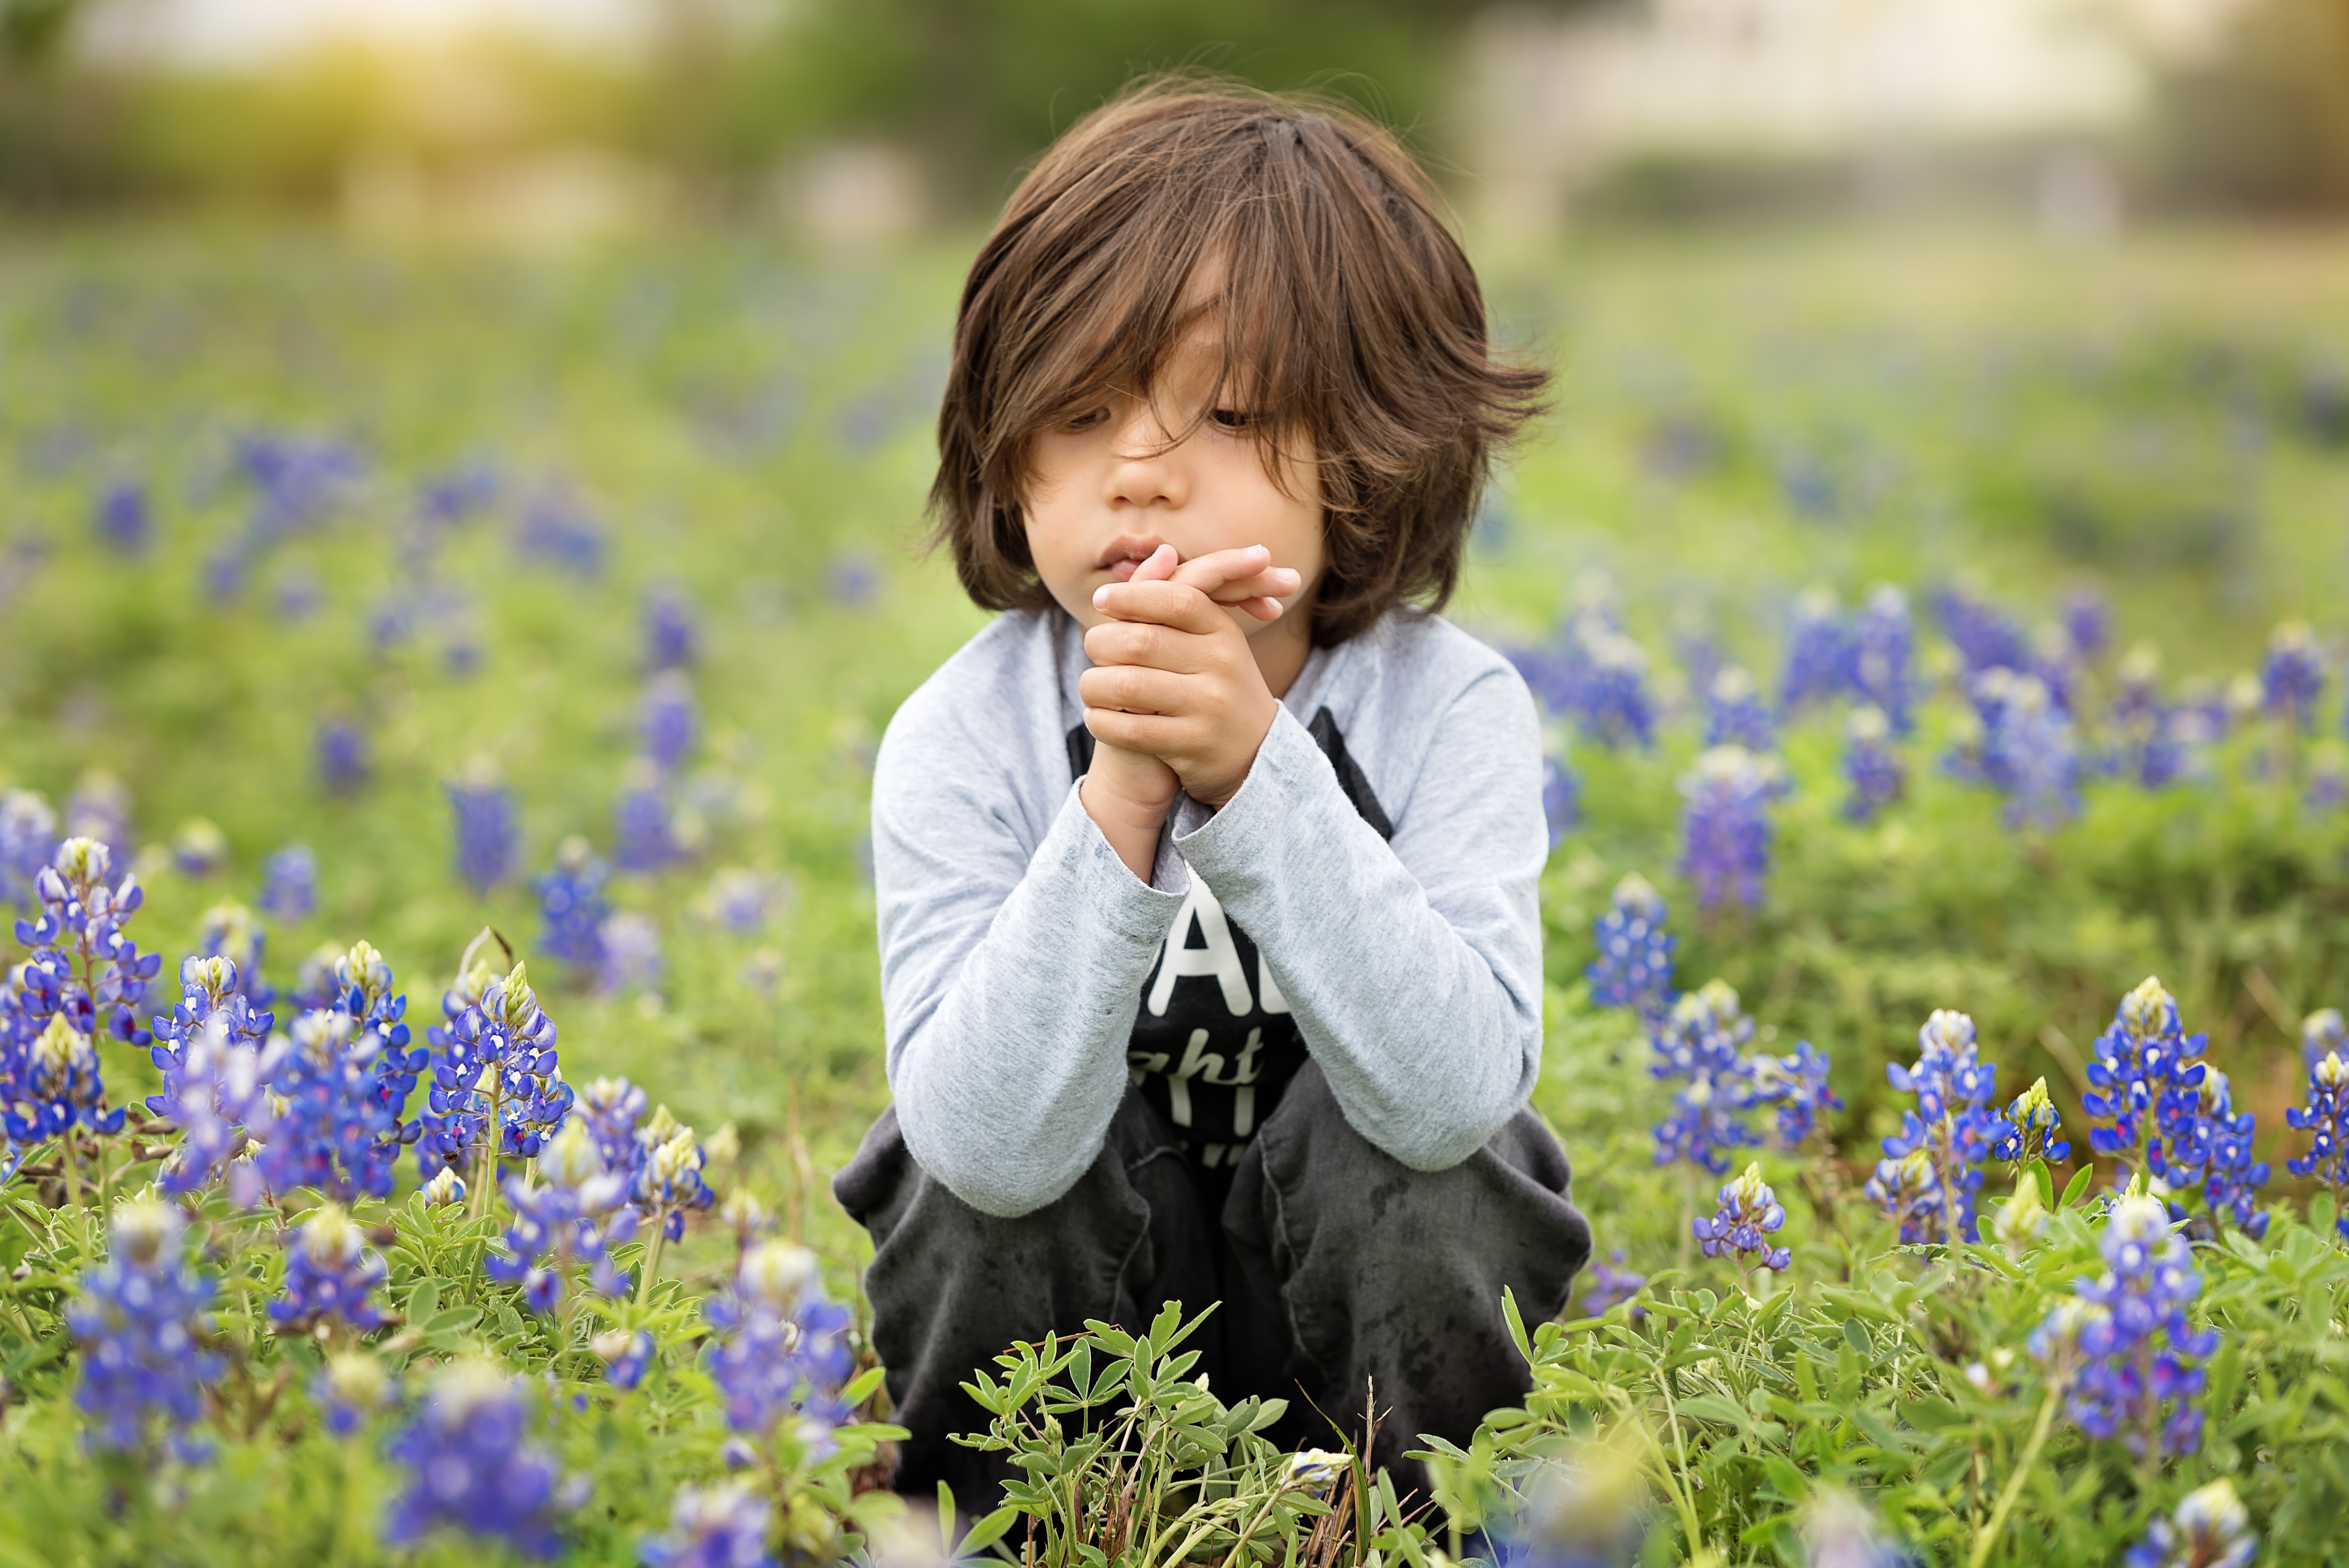
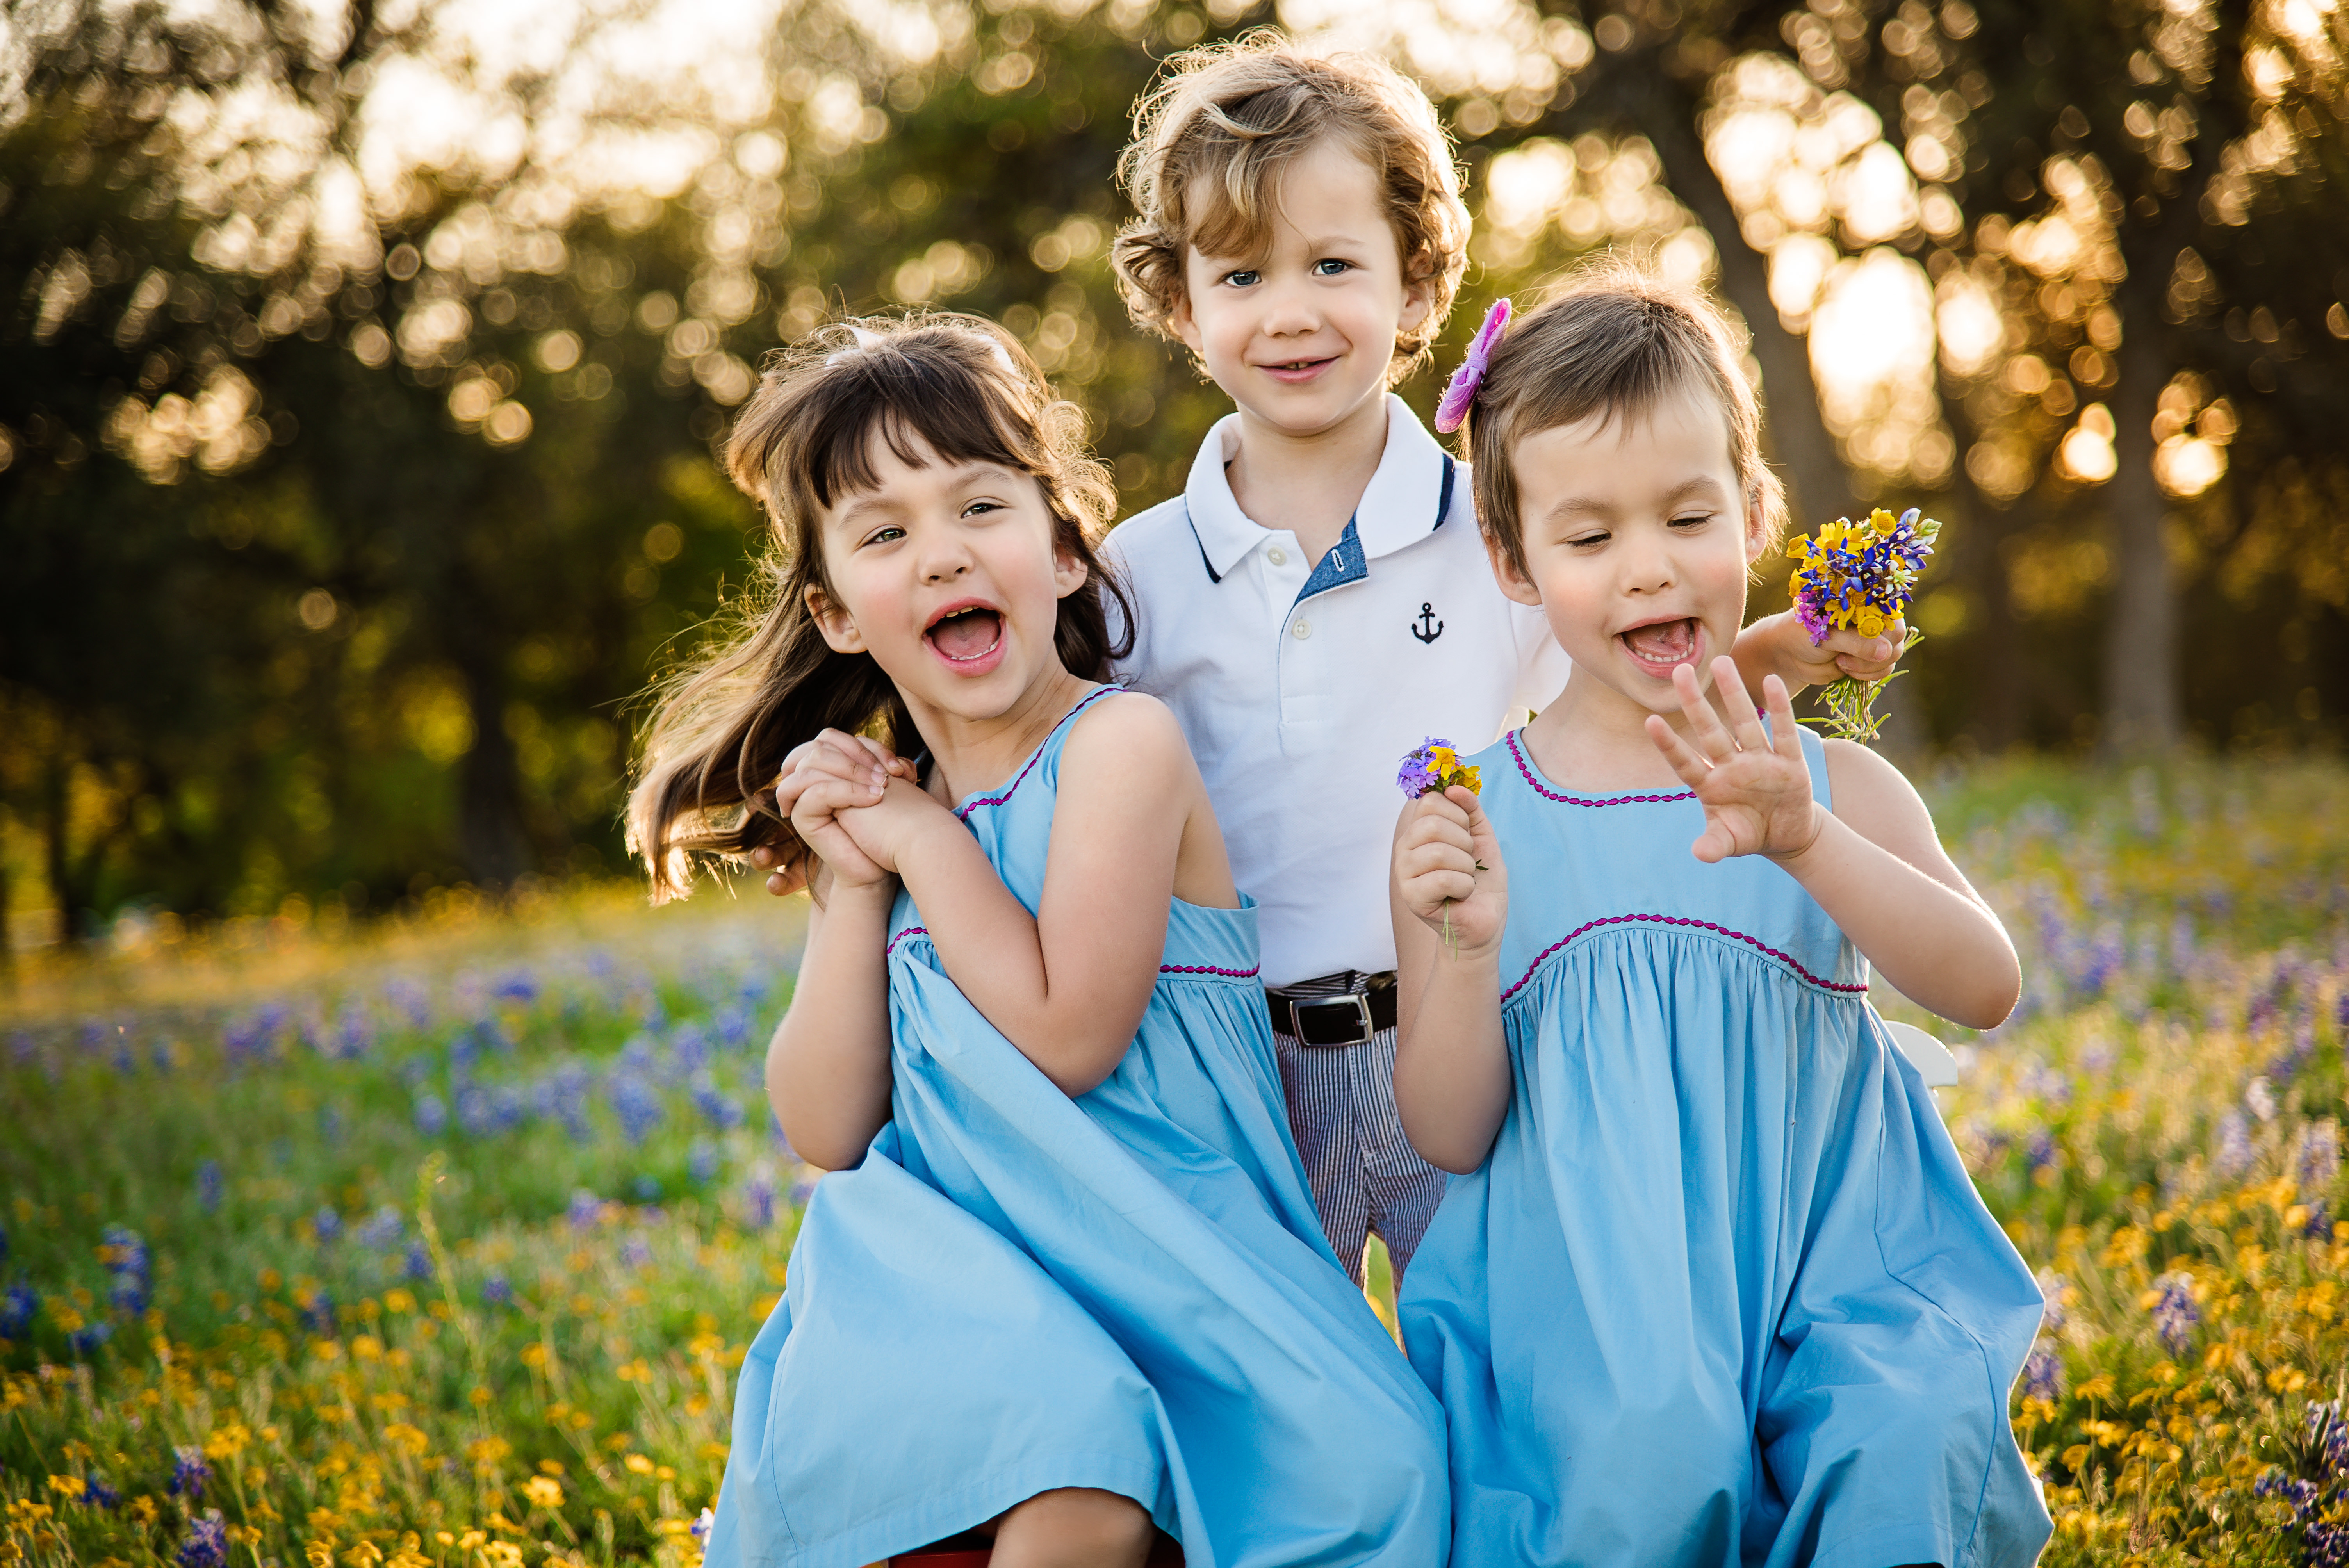
3. What to wear
Wear solid neutral colors- even better, if you have multiple subjects have one wear a white shirt. This is especially helpful if you have children who won’t look exactly where you want them to. You can just position the person in white next to them and have them look in the direction of that person. It’s like having a natural reflector! Neon and bright colors will give you unwanted color casts. I would also stay away from wearing the exact same colors as well as they tend to blend together in group photos. Also pants are always a good thing, I know you want that cute little dress in the photos but bluebonnets are not the most comfortable flower to sit in (if you want your kids to stay still longer, pants will be a good option). If you need some outfit help, check out my friend on Instagram (@OutfitFindr) or outfitfindr.com and she has the most amazing outfit choices that are easily attainable.
4. Bring bug spray and watch out for those pesky critters!
Bees, fire ants, mosquitoes, chiggers, and snakes are just some the annoyances you will find out in the bluebonnet fields. Be Safe! Check out my previous blog here for more on that.
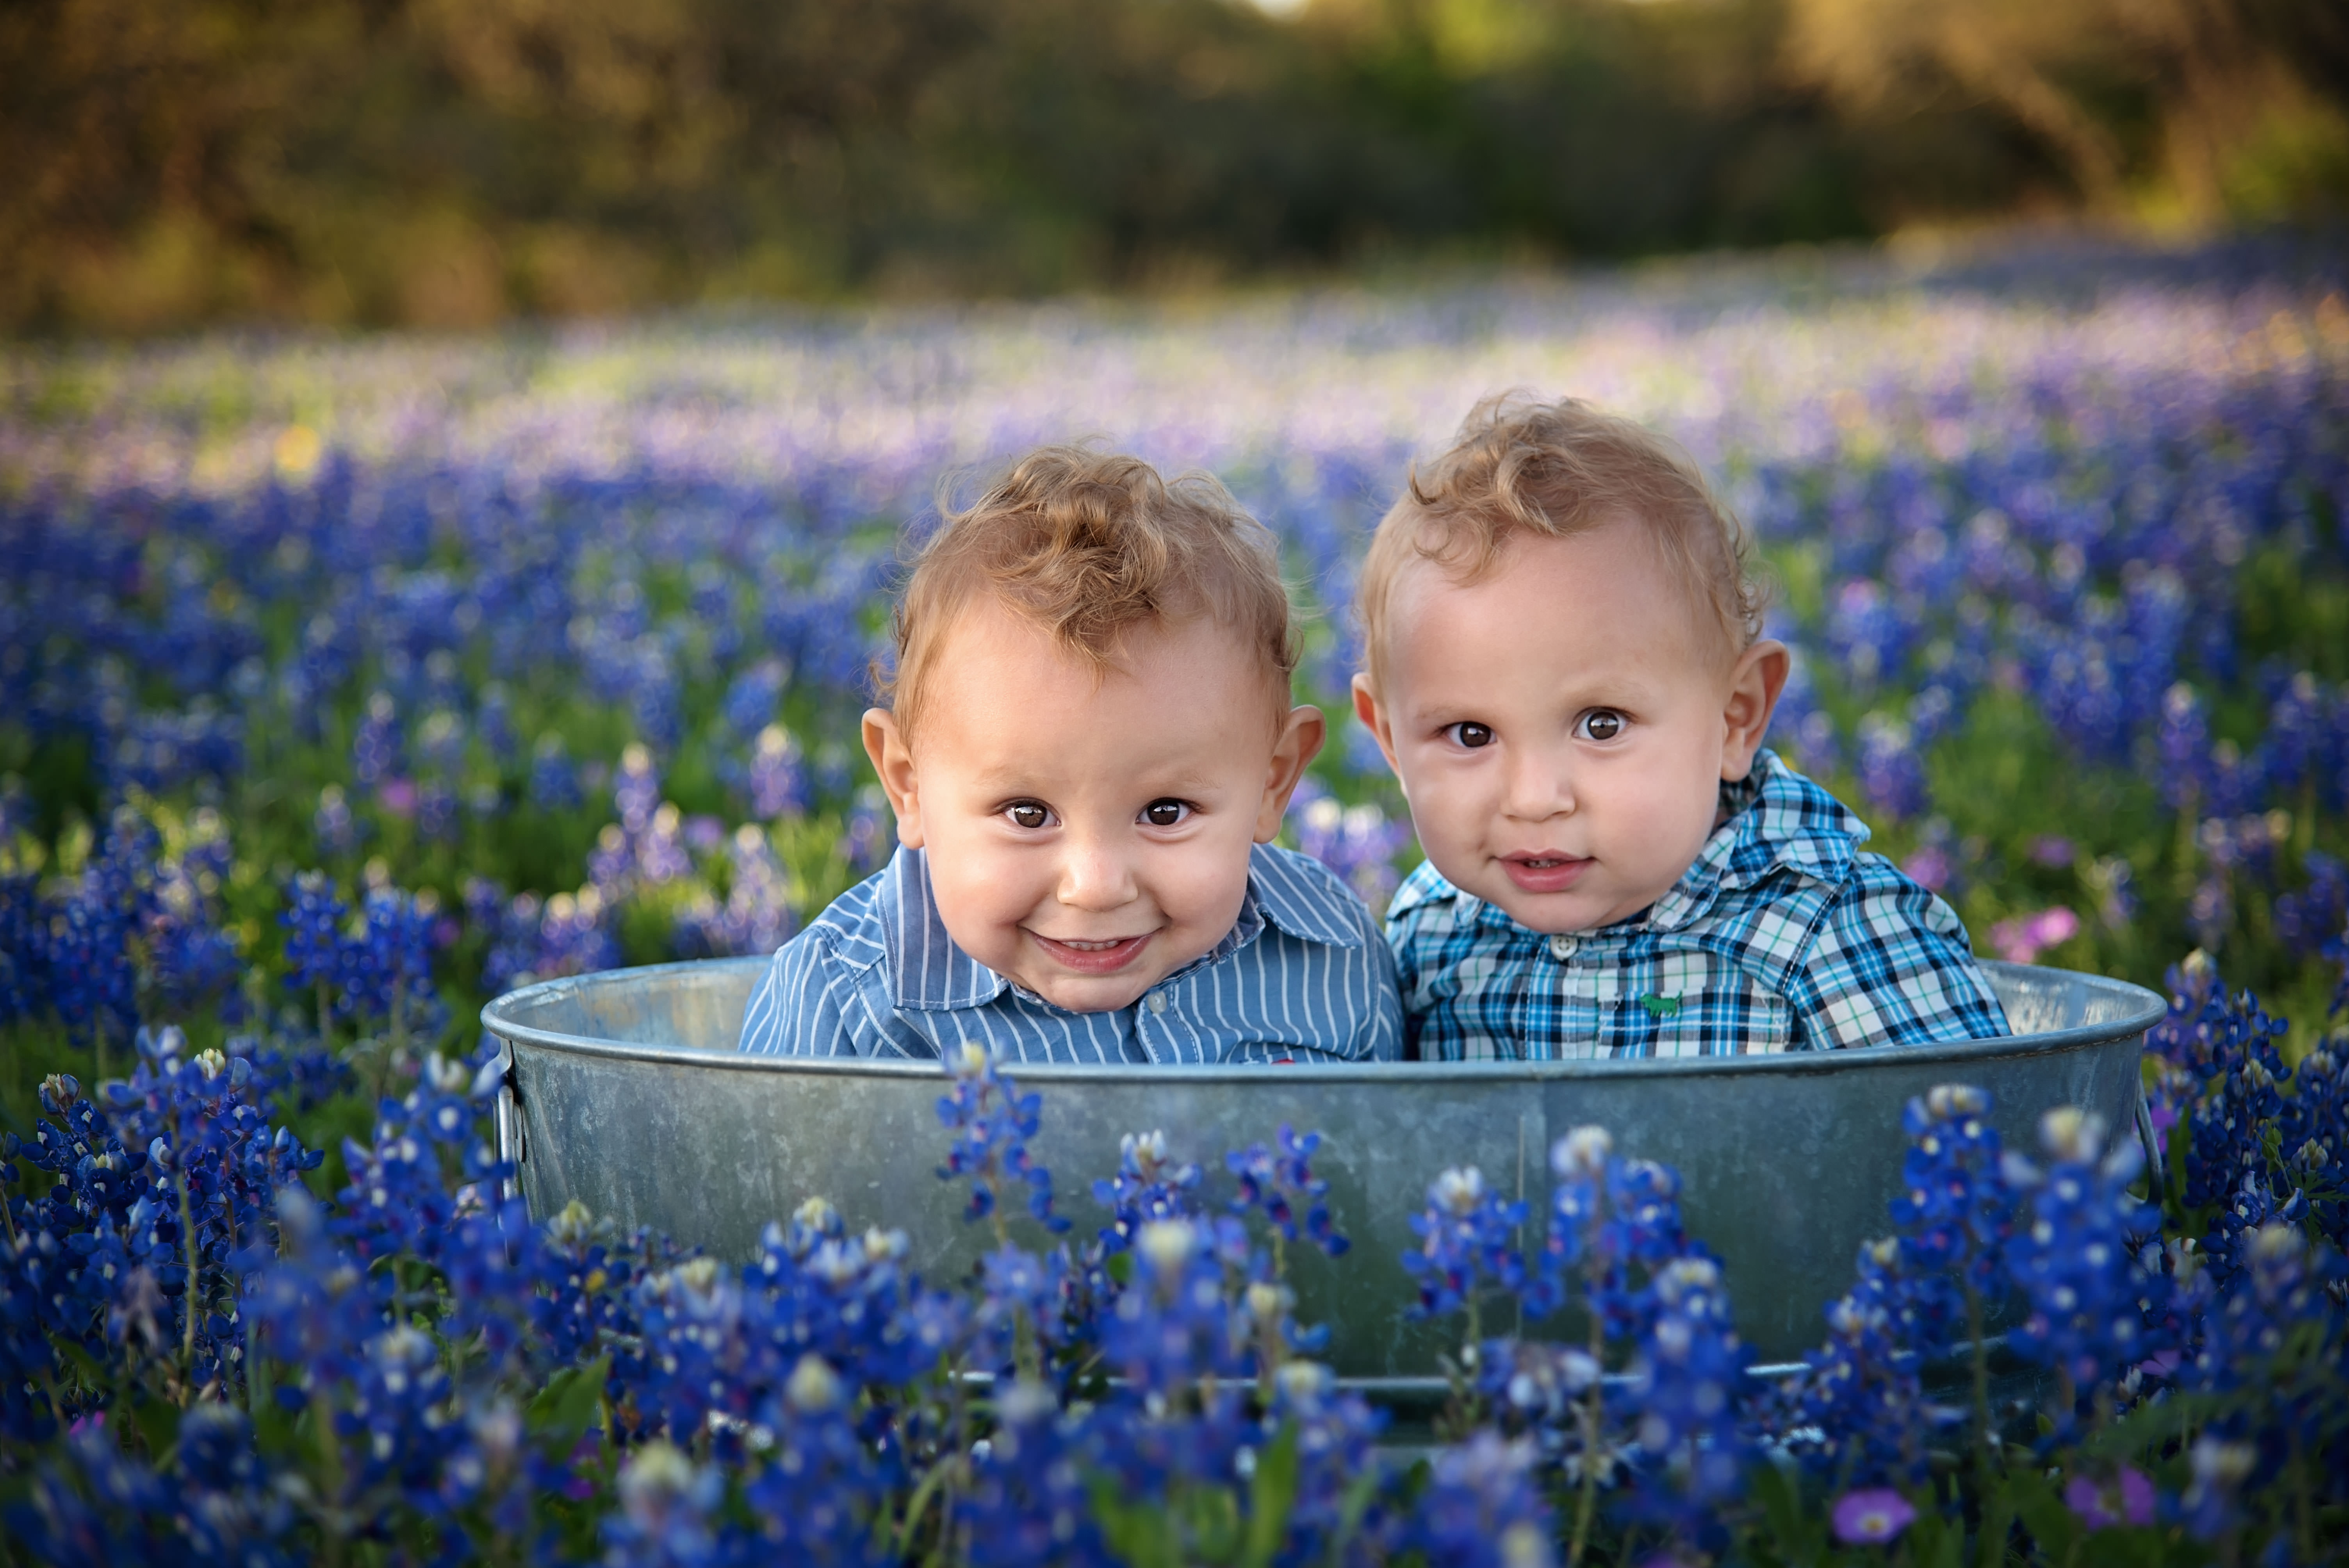
5. Props!
Like I mentioned before bluebonnets poke and are uncomfortable to sit in. So a chair, stool or little wooden step ladder to sit or stand on helps. Rainboots are really cute too – kids love them and they protect their little feet! A few years ago I bought a basin at Home Depot for $20 and it worked out great! Which leads me to one of the most important tips…
6. Please, please don’t trample the flowers!
If you see a spot that has already been flattened, use that spot. It prevents more bluebonnets from being trampled and hey, someone has already set up a good place for you to sit or set down your chair. If you are in a field you don’t need to get in the middle of it to get a great photo. You can easily achieve a great photo with the smallest of patches. It’s all about angles! Find the one that works best for where you are shooting, whether it be getting down low, to eye level to slightly from above. If you are lucky to find a huge field then of course its great and you can shoot straight on at eye level to get all that background in, but if you only find a smaller patch, then you can shoot slightly from above and angled down to achieve that look of a field of bluebonnets behind you.
7. Best time to take photos
The best time to take photos is either as the sunrises or an hour before sunset! I like to use the Magic hour app to help me and the best part is that it’s free!
8. Face away from the sun
This helps avoid harsh shadows and squinty eyes. It will also sometimes help you get those awesome sun flares in your photos. Some people don’t like sun flares, but I do like them in some of my photos to give it a little extra touch sometimes. Cloudy overcast days are good if you are a beginner – I love cloudy days because that means I can shoot at any time of the day!
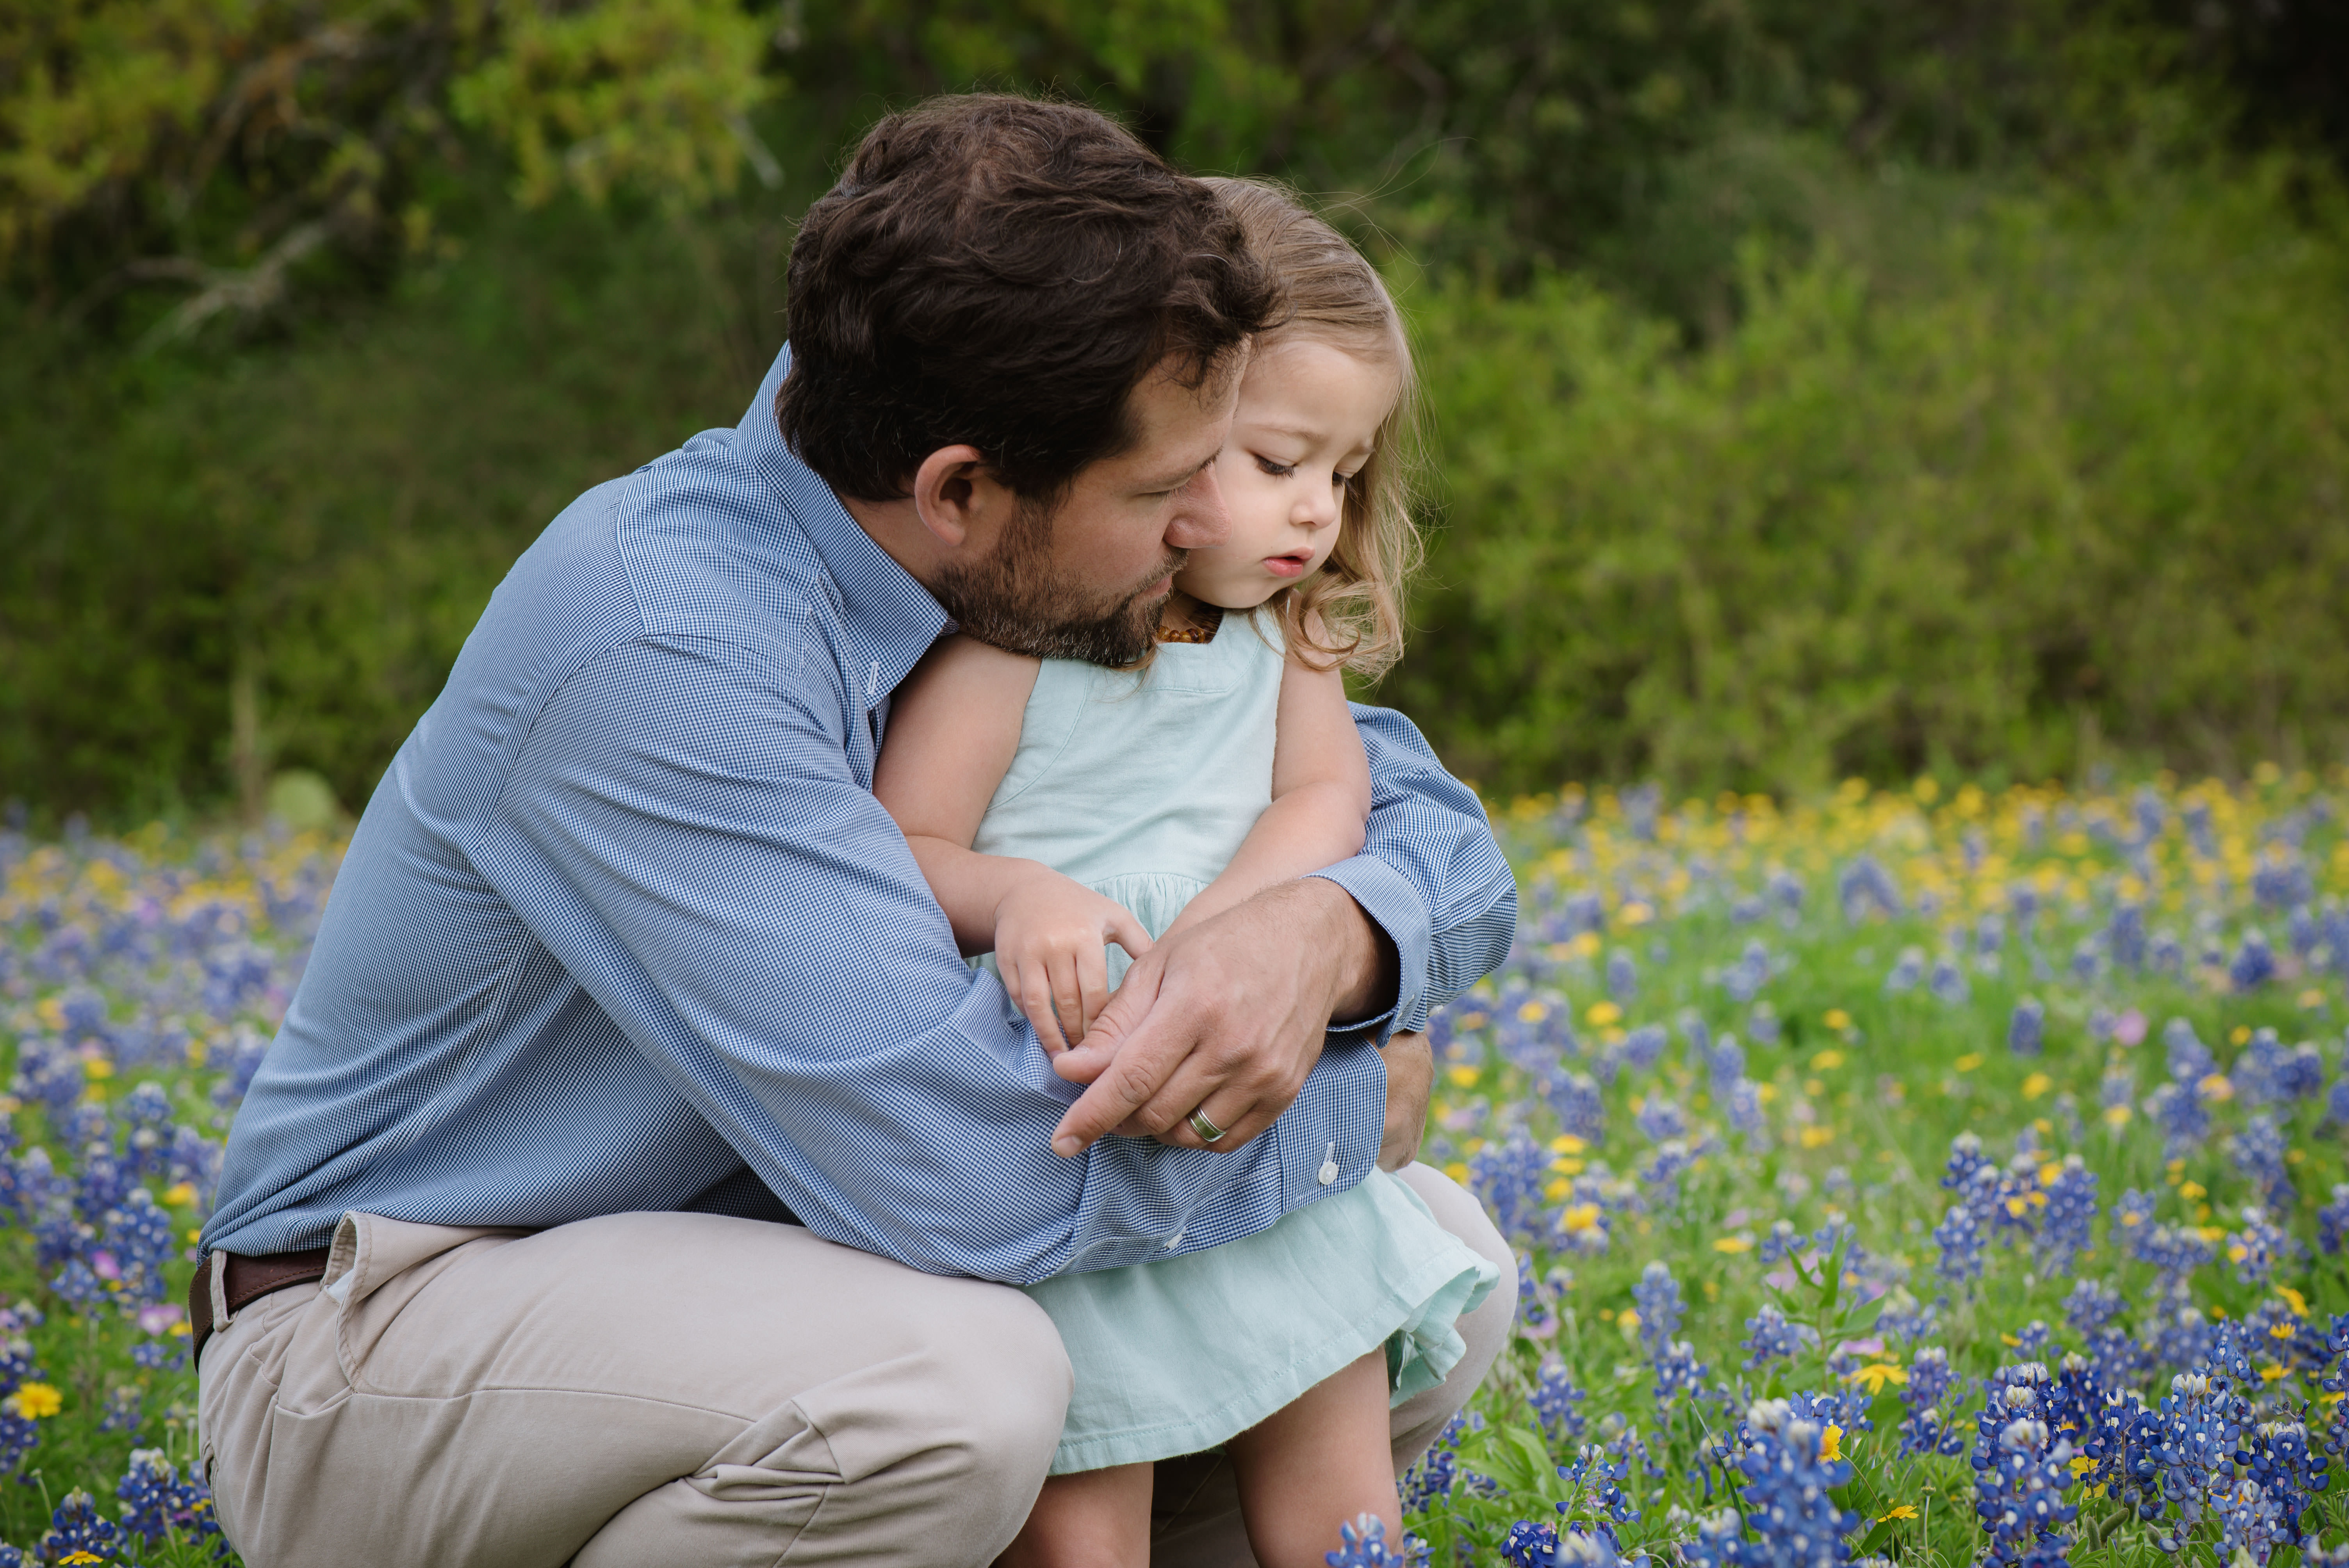
9. Bring a friend
Bringing a friend always helps if you don’t have a professional photographer with you and you have kids. Kids will listen to a stranger or friend before they listen to their own parents on where to look or smile for photos. Believe me, we are photographers and our hardest subject is our own 3 yr old! Also, it’s a good thing to bring a friend because if you are shooting the picture, you can easily get distracted and they can keep the kids entertained and safe so that you can step back and focus on the amazing photo you are about to take!
10. Ask for permission, not forgiveness
Please do not trespass on property. The signs are there for good reason and if you don’t see a sign it really is nice if you ask. Most people will say yes and often give a helpful tip (like watch out for fire ants). Last year in Floresville, there was a beautiful field of pink and yellow wildflowers behind a nail salon, when we asked if it was ok to take photos there they said it was fine but warned that there were fire ants everywhere- and they were absolutely right. Also last year we found a lush field in a Dr’s office, I went in and asked if it was ok to use and they said no- the reason for this was that the grass around and field itself had not been mowed or treated in awhile and there could be snakes there, another reason was that someone trespassed on the property previously and stepped in a hollow hole and sued the doctor – so now no one is allowed on property. So I stepped in a shallow hole recently and sprained my ankle pretty bad, so that reminds me that is something else to watch for. Sprained ankles are no fun! Luckily I did not break anything.
Aaaaand Finally…. Where to find those bluebonnets!!!
These are the places I found that I had the best luck at in the last 2 years, I haven’t been to all these places this year but I will be road tripping again this year and as I find any new spots, I’ll be sure to update below! Happy Hunting! If you found any of my tips to be helpful pretty please let me know- put a note in the comments or even better please post a photo you took in the comments! If I get enough responses, I will do more of these types of posts!!! Thanks so much!!!!
- San Antonio Botanical Gardens (By far the safest bluebonnet field – only downfall is the hours they are open are not always the best for photos)
- Thousand Oaks Christian Church, 13007 Jones Maltsberger Rd, San Antonio, TX 78247 (they had a beautiful field located behind their church with a rusty old tractor)
- Behind Dutch Boy Cleaners on Thousand Oaks – not sure of the exact address but if I find it I will update here.
- Mcallister Park (by the dog park area)
- Rolling Oaks Mall (behind Rolling Oaks Mall there were a few little patches that were great for photos last year although I haven’t made it that far this year)
- Alamo Ranch (if you park at the CVS you can walk it (This is where there are tons of cacti so be careful – also if you have kids I would put them in a stroller or wagon because the road there is very busy- in my opinion, this is probably the least safest)
- Zion Evangelical Lutheran, 1106 Fiorella St, Castroville, TX 78009 (warning: it is located in their church cemetery but it’s absolutely beautiful) Also if you have time be sure to stop by the Poppy House just 5 min away for a photo op there! (BRING BUG SPRAY)
- Willow City Loop – It’s a bit of a drive but so worth it, last year we took some awesome photos with bluebonnets and longhorns in the background!
**UPDATED*** Still on the lookout around town! I’m checking out some more places this week.
- Woodland Baptist Church, 15315 Huebner Rd, San Antonio, TX 78248 (There is a small- but safe little patch of bluebonnets and yellow wildflowers. It’s small but it’s safe because its behind the church where there is no crazy traffic- I did see some cactus up front not sure if there is any in the back, so just beware)
- There is supposed to be a field in New Braunfels around 46/337 area by the HEB and Bahama Bucks, I have not seen this one but I have seen some friends posting about it.
TO BE CONTINUED…